First, we would like to mention that it is highly recommended for you to hire a professional drywall contractor like Drywall Pro-Finishing because these types of projects are extensive and expensive. And, always, please keep safety in mind and use safety gear each & every time when undertaking a project. Today we are going to discuss taping, mudding, and sanding when it comes to drywall. So, let’s get started! Beforehand, these are the tools that you will need:
- Rosin paper or some other paper to protect your floor from drops, splatters, and dust
- Joint compound (i.e. Mud)
- Mud Pan
- Drywall Knives (6″ knifes, 12″ inch knifes)
- Corner Trowel – this helps you get into corners
- Drywall Tape
- Bucket of Water
- Work Light – for dark spots (if needed)
- Stepladder – to get to high places

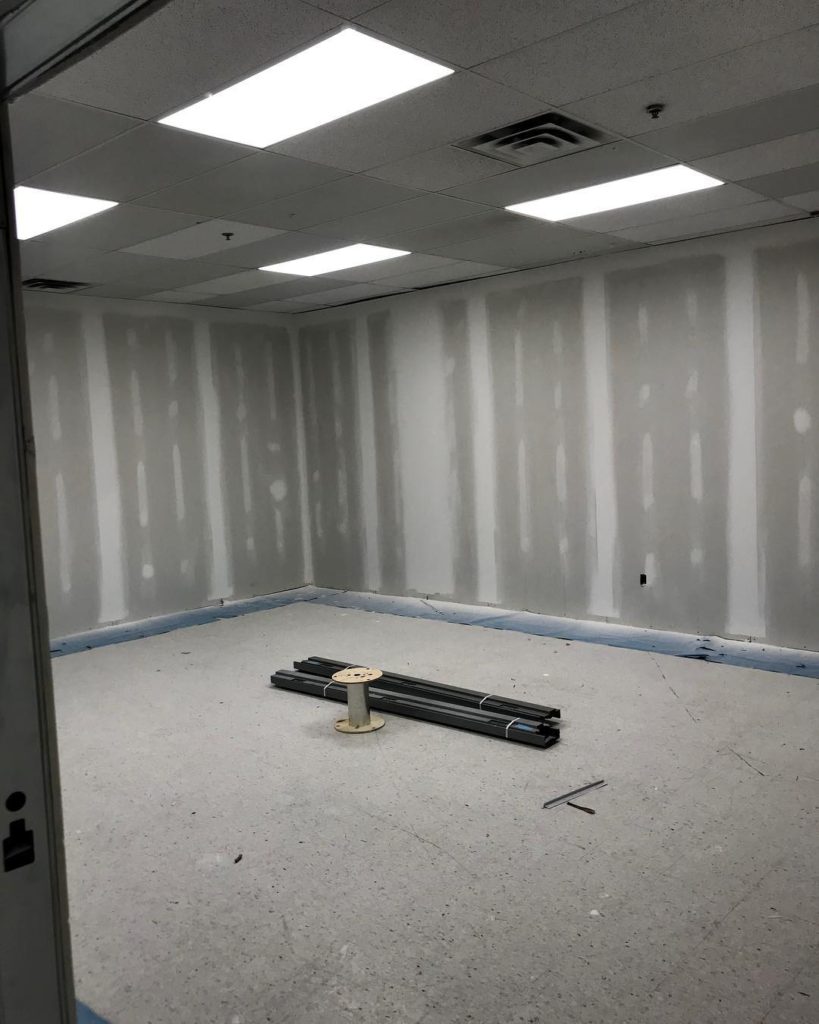
Now that you are ready, we may proceed to the actual work! At this point you already have the actual drywall plasters up (we have discussed how to put them up in a previous post), you are now ready for mudding over the screws! Smoothly cover over the screws with the mud and make sure it is nice & flat because you will have to paint over it later.
The next step is to tape over the drywall “seams” or gaps in your wall. Indeed, this is when the “taping” comes into play. There is special mesh-tape that is used for drywall that you can purchase at your local home improvement store; make sure to ask the workers there if you are not sure if you have chose the correct tape for drywall. Once back at the work spot, tape over the gaps and use a 6 inch drywall knife to go over the tape and then proceed to mudding it over with a mud-pan.
And now for the more challenging task: tapping & mudding the corners. This part is indeed time consuming and our drywall experts know how to execute it professionally. Apply the tape to the corner and push it in the middle with a mud-pan so it falls into place according to the angle. Then you can proceed to mudding over the tape in the corner. Let it dry and then go over it again with a second round of mudding.
Leave the mud to dry for about 24+ hours and then come back to your walls for sanding. What is sanding? It is where there is clumps of mud that needs to be smoothed over so that you can paint over your wall later without experiencing any bumps over your brush. What you will need? A sponge, a sanding block and a bucket of warm water. Go over the wall with a sponge that is moist, not soaking wet but has some moisture in it and then proceed to sanding over it with a block.
Once you went over the bumps and your wall has been smoothed, applied another round of mudding for extra coating. And, then let it dry and then sand again until the wall is smooth. Let it dry again and then you are ready to paint over the drywall!
The more complicated step is actually building the frames and putting up the drywall, once the the wall is up it is the taping, mudding and sanding that is the more cosmetic aspect of the project. We strongly urge you to have the pros do it and like this you will save time, money and resources because the contractor has efficiency in mind. If you want to get in touch with us or have any questions about drywall, please do not hesitate to contact us today to find out how we can put an end to your drywall projects today.

